If I want creation mode to be a fun diversion it needs to have its own custom and very efficient GUI. The current task based GUI will not cut it. So I came up with this:
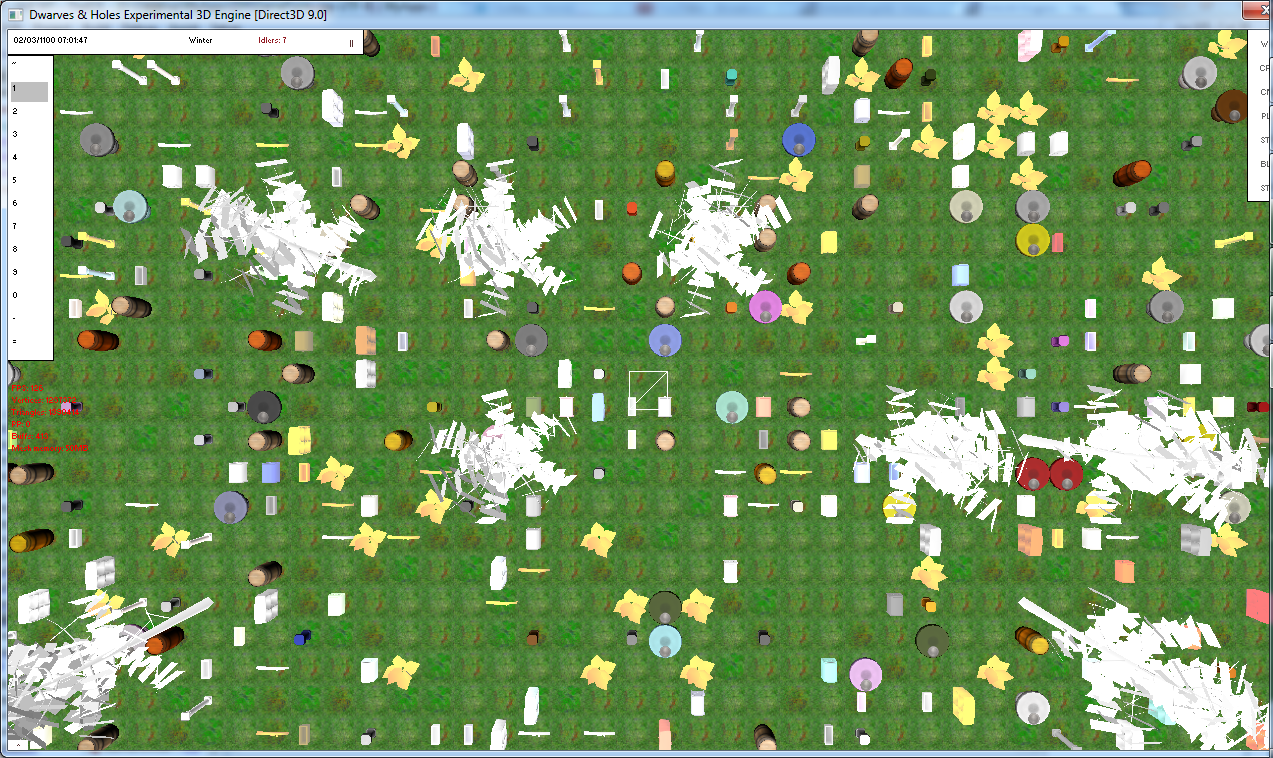
I moved the little status panel up to be next to the main attraction: the new toolbar. This toolbar has a fixed structure providing 13 keyboard shortcut enabled commands. Right now only the keyboard shortcuts are visible, but it is going to have (very) (sexually) suggestive icons next to each shortcut. Probably 13 tools will not be sufficient, so I'll make it so that Tab extends the toolbar showing you all available options. The 13 quick commands will be the most used ones and the rest will be available only if the toolbar is extended. Of course each command is a slot, so once you open up the toolbar you will be able to swap out you initial 13 commands to your liking. This is not implemented yet.
What is implemented is the rest. So let me explain: each button on the toolbar is a slot that holds a tool. Tools can be anything from a dig tool to an item that you want to place. The default toolbar will have its first button (shortcut `) set to the select tool. The select tool is slightly more special so I'll get back to it later.The rest of the shortcuts (1-9, 0, - and =) are objects that you can be placed. Selecting a slot activates that tool. Other keyboard commands and mouse command have different actions based on what tool is selected. Only one tool/slot can be selected at a time.
So how do you select a slot? Well, you can click on it. Or you can press the keyboard shortcut. Selecting a tool does not alter the world. Just because you had the barrel tool selected and now you select the tree tool does not have any direct effect. You need to use the tool.
All tools have a few standard ways you can use them. The default action is executed at a click. The dig tool will remove the block on which you have clicked, the item place tool will place an item on the clicked position and so on. The second action is the "mass" action. You activate this by pressing "F" on the keyboard. The mass action only works if you have a selection, and will repeat the default action on the entire selection. So if you have an active selection, you can press any keyboard binding (or click on a tool) as many times you want to change the current tool and once you press F the command is executed on the whole selection.
So to reiterate, you can only have on active tool. Each tool has a default action activated by clicking which executes the tool on the clicked position and a mass action activated by F that executes the default action on you entire selection.
There are also some pseudo tools/shortcuts. X activates the mass action of the destroy item tool, so pressing X will destroy all items that are selected. Other future such shortcuts will be added, like U for undo.
There is also an immediate mass execute action. This executes the mass action for a command that is not currently active. Let's say you have the barrel tool active and have a selection and you would like to fill that selection with tables and then continue working with barrels. You could press the table tool shortcut (default 3 right now), press F and then press the barrel tools shortcut (default 1 right now) and continue working. Or you could use the immediate mass action of the table tool. Immediate mass actions do not switch the current tool but execute the action as if it did switch, execute and switch back to you initial tool. You activate it by pressing Shift and the shortcut for the desired tool. So back to the example: you could just press Shift-3 to fill the current selection with tables. You barrel tool will still remain active.
The select tool (default shortcut ` right now) works like this: the default action opens up a panel informing you about you selection. This panel will also have other context sensitive buttons in the future. There is no mass action but there is an immediate mass action (Shift-` or right click on the tool). This will reset you selection to an empty selection. Items will not be effected. I made only an immediate mass action because that requires more keys to be pressed and you are less likely to accidentally null your selection pattern. Undo for item actions will be available much sooner than undo for selection pattern change and shift.
I did not forget about people who want to use the mouse predominantly. As said, tools can be selected with a left mouse click. Right clicking on a tool executes the immediate mass action.
This interface is only for creation mode. Normal mode will have either the old interface, or an interface that is even better.
Did I manage to explain things? Or did I confuse you more.
What do you think about the new creation mode interface? You will be able to try it yourselves on Monday.
I also worked on some other things. I put a lot of though on how I want my grassy plains to look and what implications this will have on the tileset.
Right now I am thinking a standard high resolution 2D tileset with detail mapping will do. Ah yes, I learned detail mapping. The real eureka moment was when I realized you could have more than one set of texture coordinates for each vertex. Detail mapping is too early to show and anyway I need a better tileset first.
After getting the hang of detail mapping I also tried out other techniques. This is bump mapping for terrain:

Does not look that good. And this is parallax mapping for terrain, first from top down view:

Is it just me or does this look kind of like a motion blur. Anyway, not that great. Probably I have chosen textures, height maps and normal maps all wrong for this effect to look good. And here is a first person view:

Still looks motion blurry but it is a lot better from this perspective. Probably I won't use this technique for grass floors because this seems more appropriate to wet rock or other shinny surfaces.
There is one caveat though: these techniques can not be used together with vertex coloring. I use a lot of coloring, so if I don't get around this limitation I will be able to apply bump or parallax mapping to only a small subset of the objects.
No comments:
Post a Comment